Overview – Allow or Block Windows Store
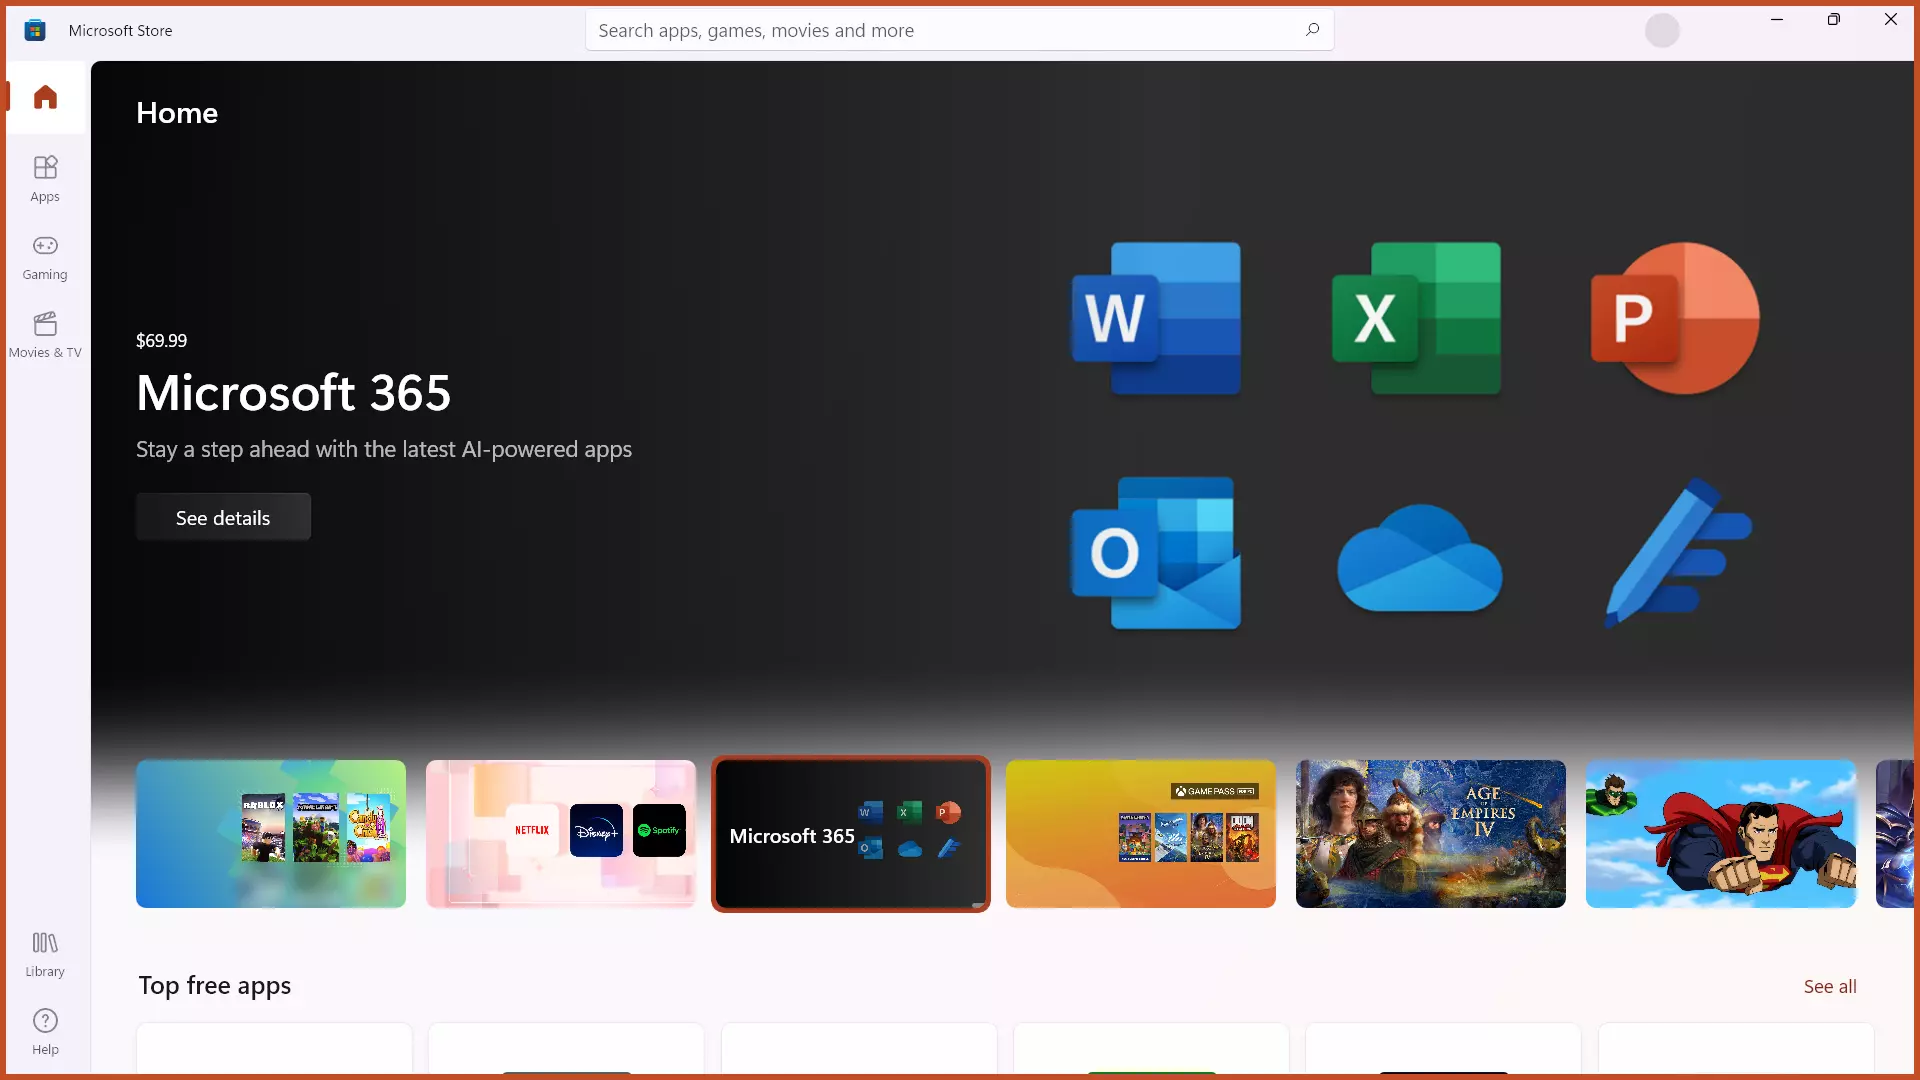
It seems that you want to block other users from accessing the Windows Store or simply want to access the blocked Windows Store on your own computer.
By following the steps in this article, you can block Microsoft Store to prevent downloading programs by other users without your permission, also, enable Windows Store on your system (if already disabled or blocked):

By the end of this article, you will be able to allow or block Windows Store:
1. Allow or Block Access To Windows Store via Group Policy
Step 1: Type and open ‘Edit Group Policy’ from the start menu or open Windows Run and type ‘gpedit.msc’ (without quotation marks).
Step 2: Navigate to the following path:
Computer Configuration > Administrative Templates > Windows Components > Store. Double-click the ‘Turn off the Store application’ option.
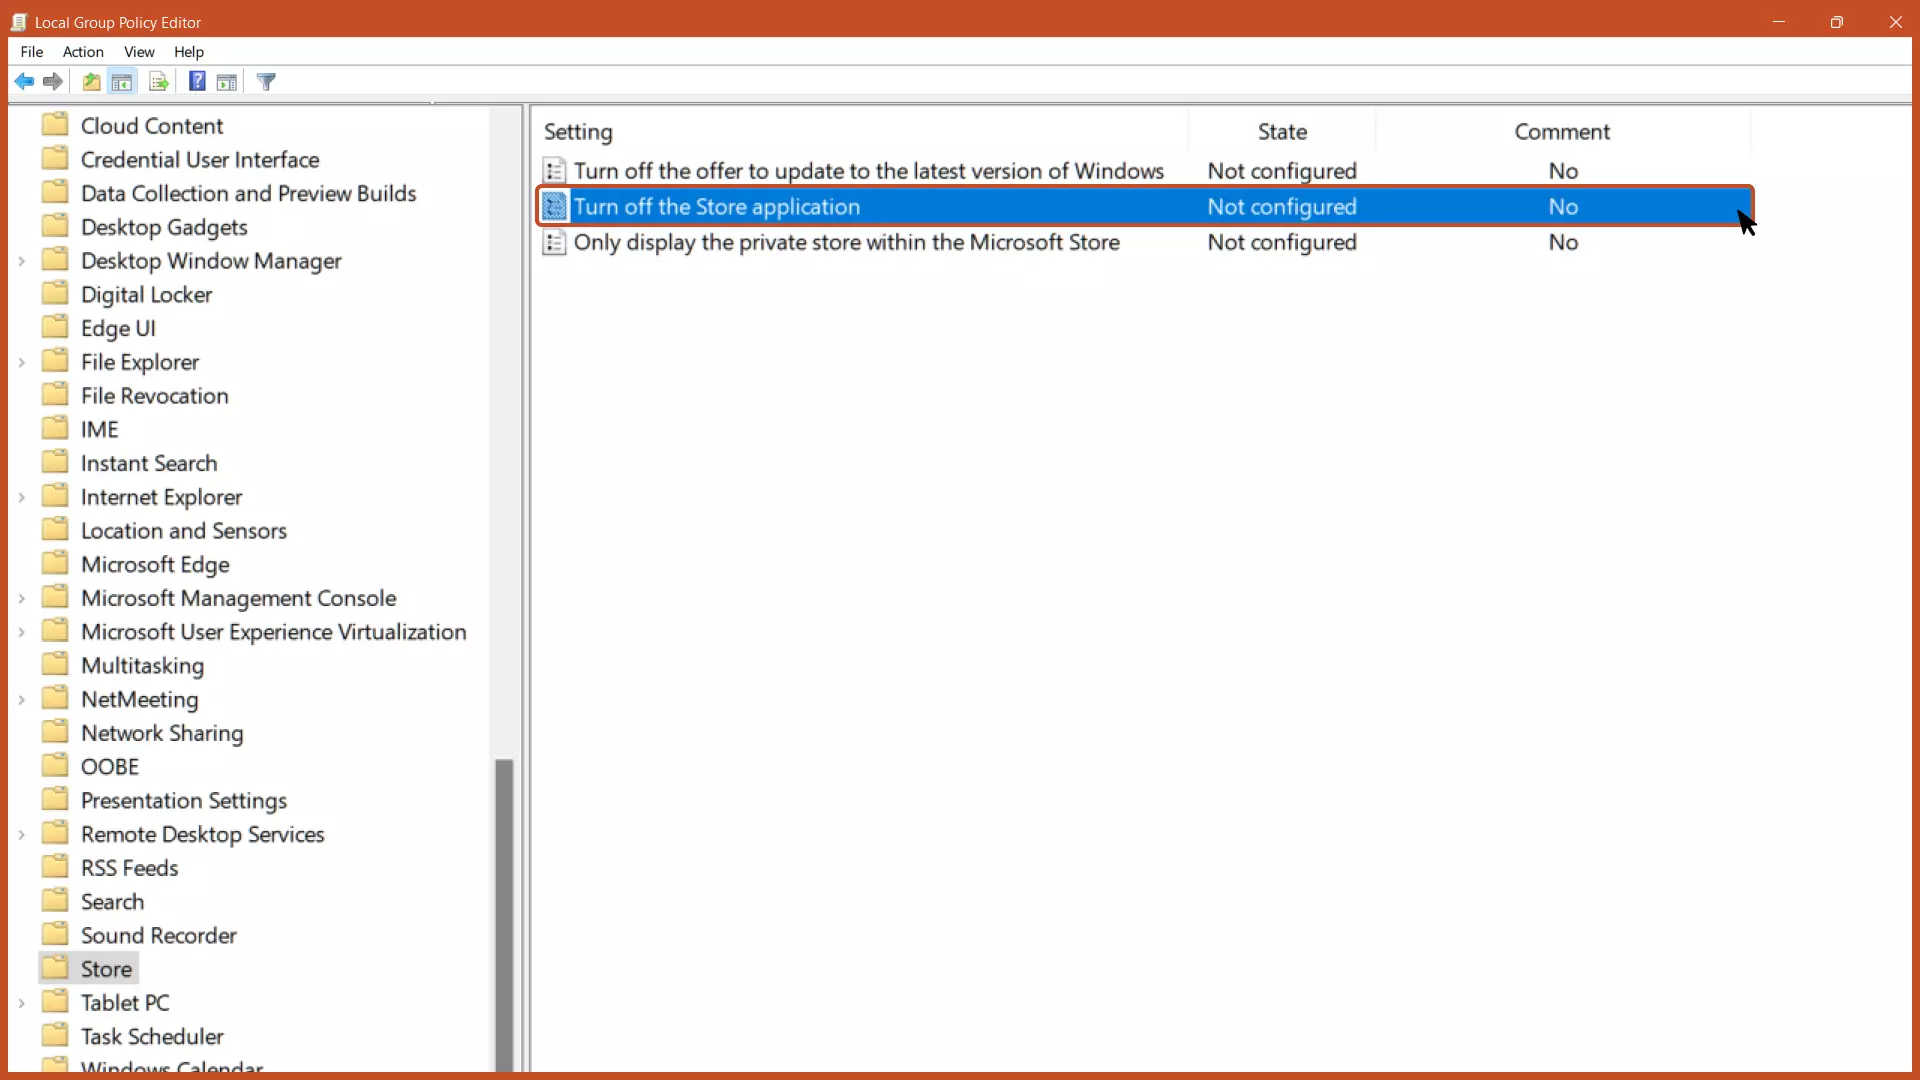
Step 3: The setting will appear in a popup panel. Check the ‘Disabled’ or ‘Not Configured’ option to enable access to Store, check the ‘Enabled’ option to disable access to Store, and press the ‘Apply’ button.

Step 4: Open the Command Prompt (CMD) as an administrator and type the command: gpupdate /force. This command will force the new Group Policy Settings into the system. Also, you can restart your device to make changes take effect.

Note: By disabling the Microsoft Store, you’ll not be able to install the Windows Apps updates.
By default, the setting is set to ‘Not Configured’, which means the access to Microsoft is not denied. If you enable this setting, access to the Store application is denied. Access to the Store is required for installing app updates.
If you select the ‘disabled’ or ‘don’t configure’ option, the user will be able to access the Store application normally.
2. Allow or Block Access To Windows Store via Software Restriction Policy
Step 1: Show the hidden files on Windows by customizing the built-in settings.
Step 2: Open the “This PC” app, go to the main drive, and open the “Program Files” folder.

Step 3: Scroll, right-click the WindowsApps folder, and select the Properties option.

Step 4: Select the Security tab from the top bar and click the “Advanced” button.

Step 5: Click the “Change” button.

Step 6: Copy your computer name or Microsoft Account Email and paste it into the object name section and click the “OK” button.

Step 7: In the Start menu, type “Local Security Policy” and hit the enter key.
Step 8: Navigate to the following path:
Security Settings > Software Restriction Policies > Additional Rules, right-click the empty space on the right pane and click the “New Path Rule”.

Step 9: In the Path section, paste the following path:
%programfiles%\WindowsApps\Microsoft.WindowsStore*, set the security level to Disallowed, and click the “Apply” button.


Note: To re-enable the Windows Store, simply delete the security rule.
Next Steps
We’ve covered how to allow and block Microsoft Store Application in Windows 11.
Blocking the Windows Store from being used by others would prevent them from installing programs without your permission, strengthening your security and confidentiality.
In this article, the settings are bound to Windows 11 but will work with some older versions including Windows 10 as well.
Further, customize your computer’s built-in settings by following the related articles below.
Related Articles

Block Apps from Installing in Windows
Protect your privacy further by blocking the installation of programs downloaded from external sources.

Change Default Browser in Windows 11
Changing the default browser in Windows 11 is completely different as compared to previous versions of Windows. Learn how to do so.

Delete Windows.old Folder
Save 15-25 GB of space depending on the version of your Windows just by deleting a single unused file.
