
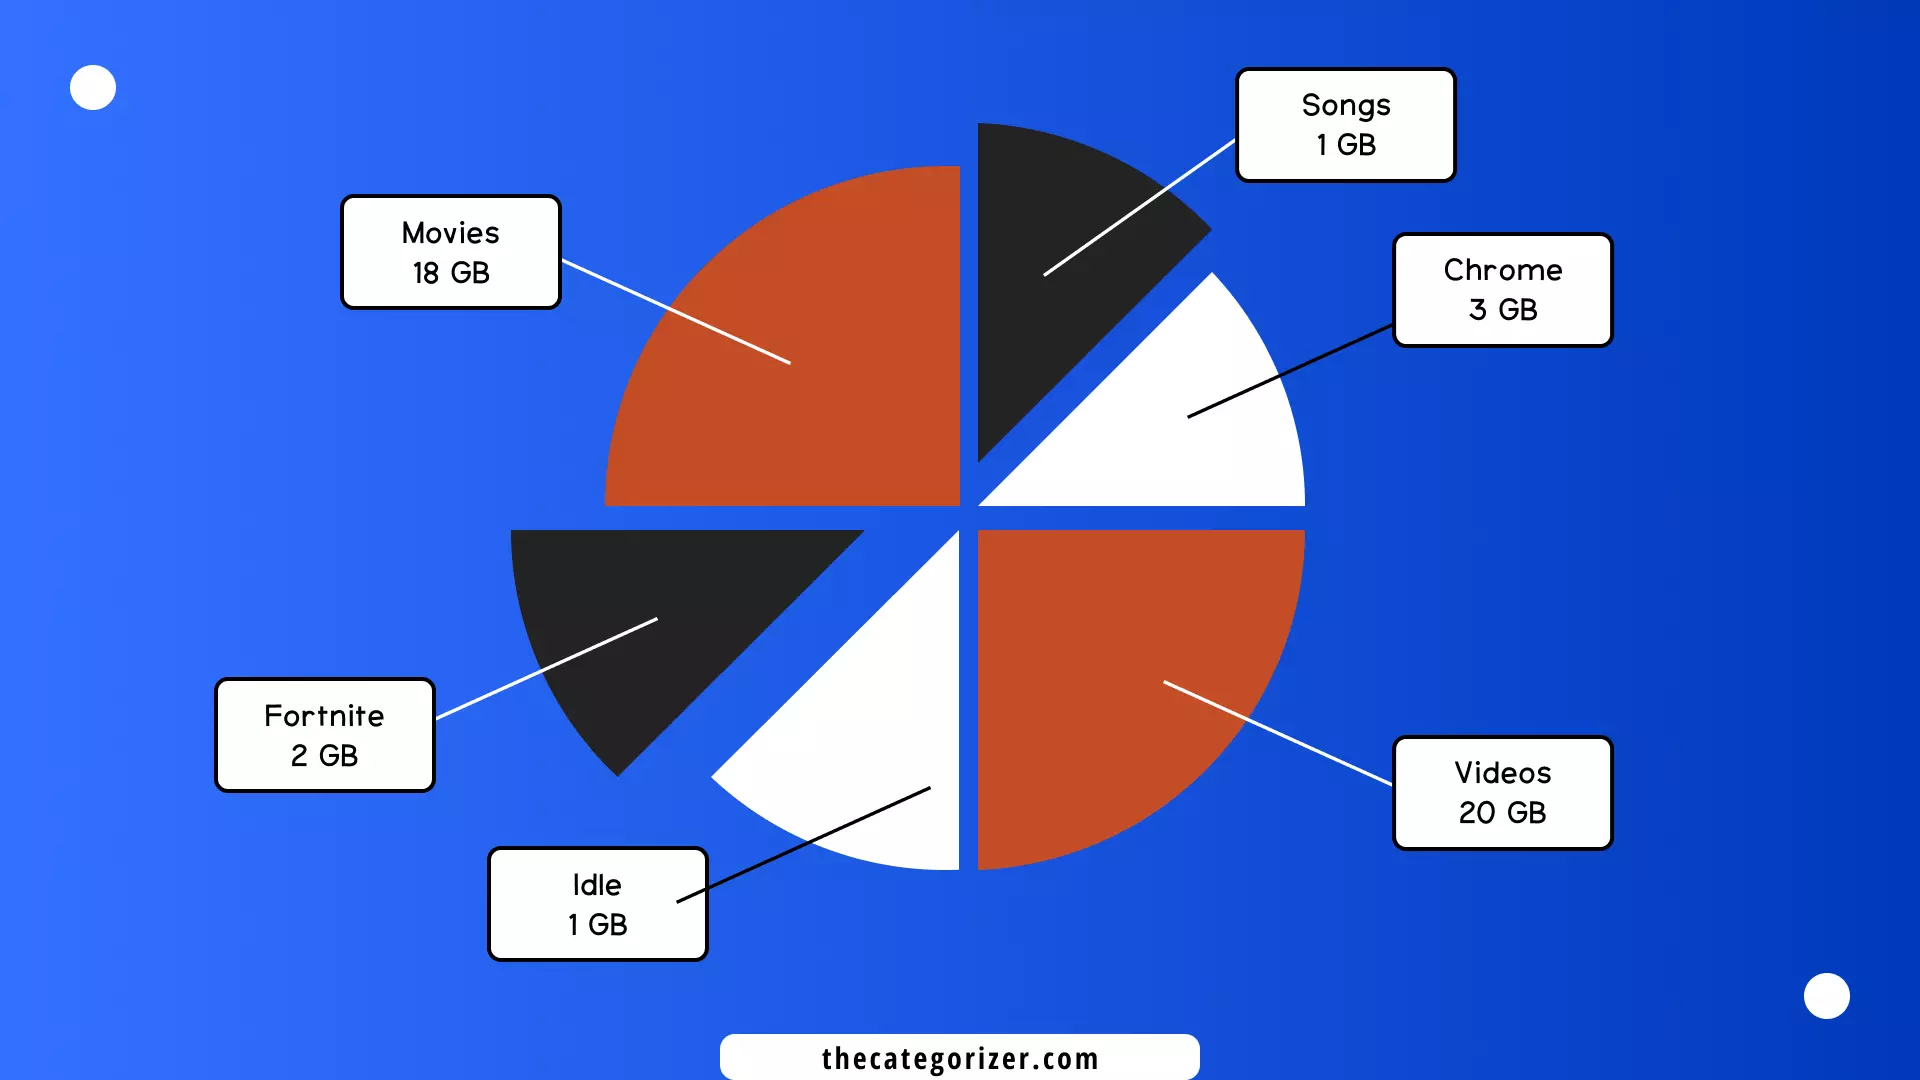
Overview – Data Usage in Windows 11
Windows offers built-in features to help users monitor the data usage, show how much data has been consumed by a particular application, and allow whether or not to reset the data usage.
It seems that you are worried about the overuse of data on your device and want to keep a strict check on your Windows 11 data usage or, you are a parent who wants to keep a check on their child’s online activity, on which app does he/she spends most of his/her time on the internet..
Let’s breakdown what we’re going to cover in this article:
- Check and Reset Data Usage in Windows 11
1. Using Windows Settings
Step 1: Open the Windows Settings from the Start menu or press the “Windows Logo key + I” key combination on the keyboard.

Step 2: Select the “Network & Internet” option from the left sidebar and click the “Data Usage” option from the top-right side of the window.

Step 3: From the top-right side of the window in the “Data Usage” section, you can select the network for which you want to check the data usage – Wi-Fi or Ethernet.
Now, we can see all the applications consuming data. The apps will be sorted in order of how much data they use, from increasing to decreasing data consumption.

NOTE: To reset data usage using Windows Settings, scroll down and click the “Reset” button. A popup menu appears, click the “Reset” button again to reset the data usage.


2. Using Task Manager
Step 1: In the Start menu, search for “Task Manager” and hit the enter key or press the “Ctrl + Shift + Esc” key combination on the keyboard.
Step 2: To check the data usage, select the “App History” tab from the left sidebar. In the “Network” tab, you’ll find the data usage consumed by the applications.

NOTE: You can click the “Network Tab” and order the applications in ascending or descending order, depending on the data usage.
NOTE: To reset the data usage in the task manager, in the “App History” Tab in Task Manager, click the “Delete Usage History” button.

3. Reset Data Usage using Command Prompt
Step 1: In the Start menu, search for “Command Prompt” and run it as an administrator.
Step 2: To reset the data usage, type the following command:
net stop DPS & DEL /F /S /Q /A "%windir%\System32\sru*" & net start DPS
Next Steps
We’ve covered how to check and reset data usage in Windows 11.
When you have a limited data plan, it’s critical to keep track of how much data you use, then, resetting your usage statistics in Windows is the simplest method to achieve this.
Further, save some more data consumption on your computer by referring to the related articles below.
Related Articles

Limit Bandwidth Usage in Windows 11
Reducing the bandwidth usage in Windows will automatically decrease the Data Usage Consumption on your computer.
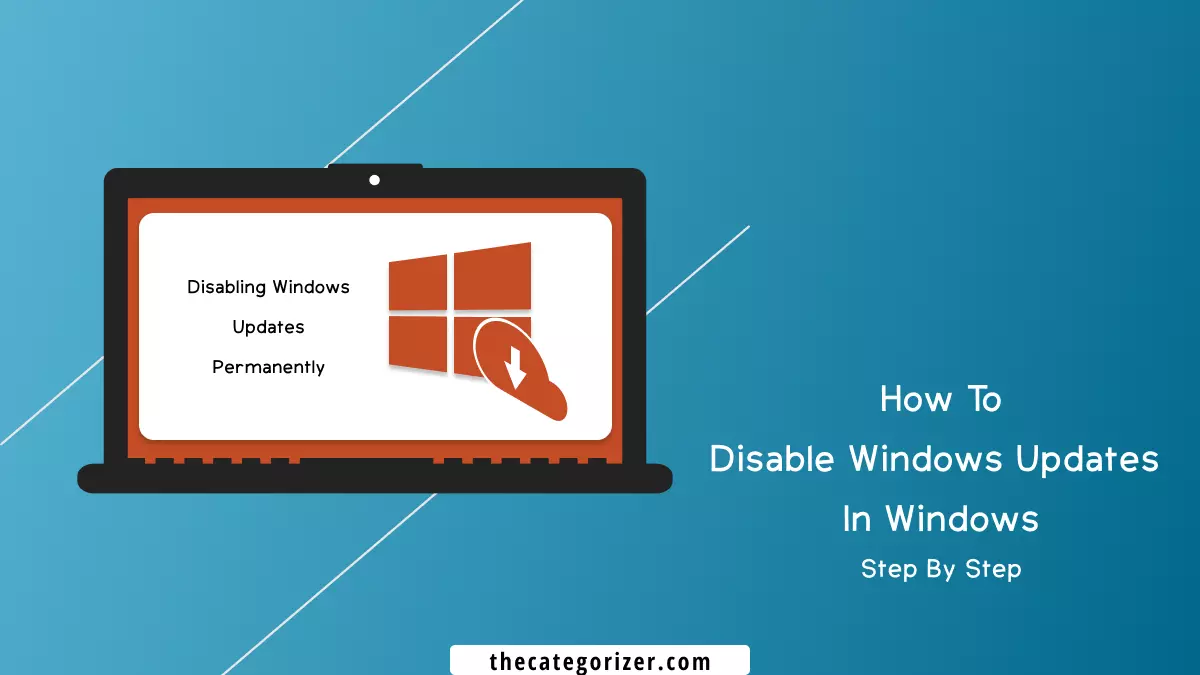
How To Stop Windows 11 Updates
Reduce the online data consumption on your device by stopping the Automatic Windows Updates downloading and installing in the background.
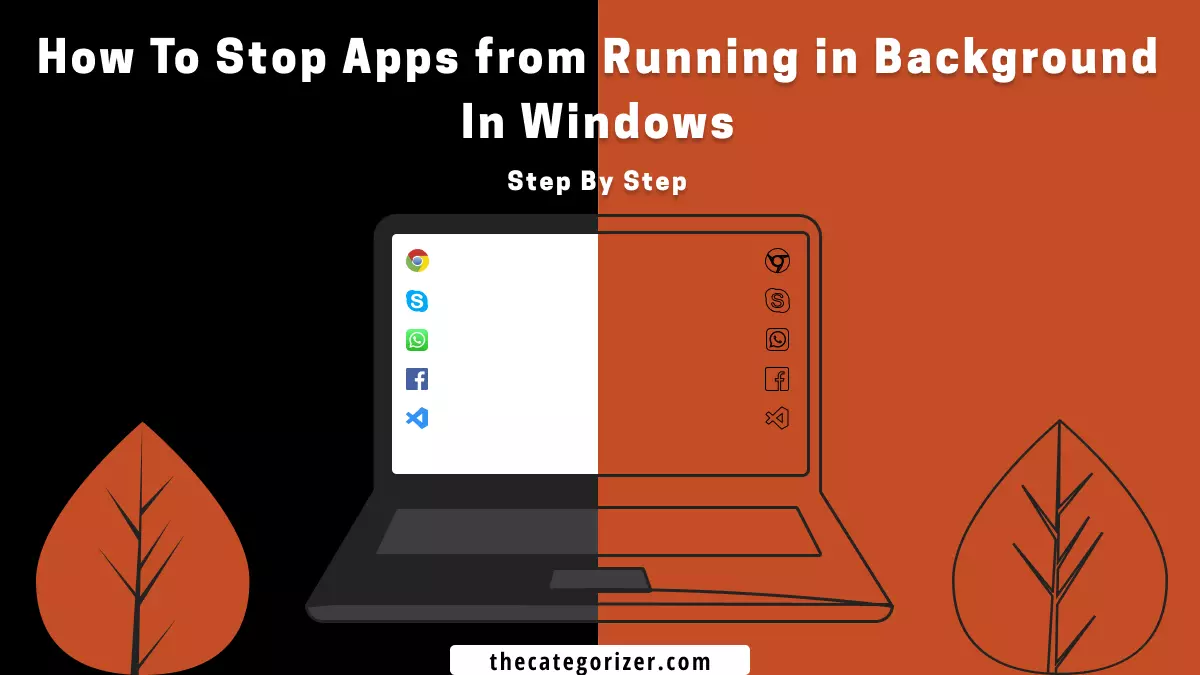
Stop Programs From Running in Background in Windows
Reduce the internet data consumption on your computer by stopping the programs running in the background.

Storage Sense in Windows 11
Save some space in your device automatically using the Windows built-in Storage Sense Feature.
