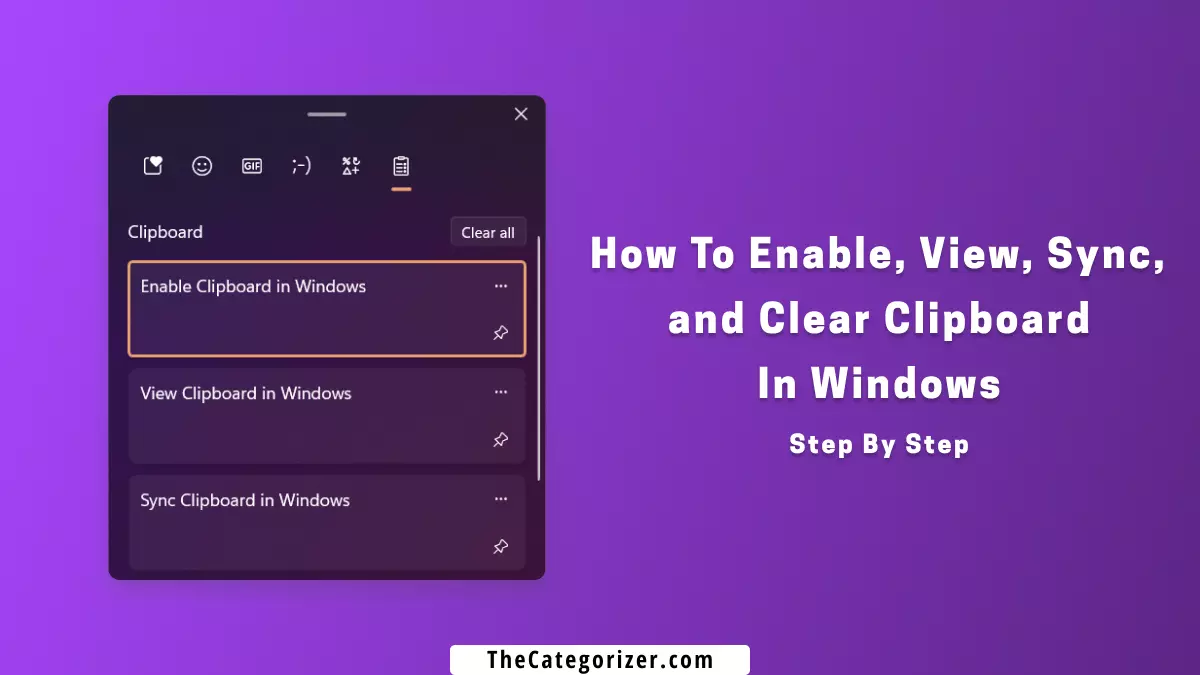
Overview – Clipboard History in Windows 11
The clipboard is a temporary storage location for information including text and images that may be copied and pasted into any document. The clipboard stores 24 items. If the twenty-fifth item is copied, the first item is automatically deleted. It is an easy-to-use utility and saves time for people who need to paste the same text or images over and over again.
You appear to want to increase your productivity and save time by not switching tabs by copying and pasting the same information, instead utilizing the built-in clipboard feature in Windows.
Let’s break down what we’re going to cover in this article:
- How To Enable Clipboard History
- How To Clear Clipboard History
How To Enable Clipboard History in Windows 11
1. Enable Clipboard History using Windows Settings
Step 1: Open the Windows Settings from the Start menu or press the “Windows Logo key + I” key combination on the keyboard.

Step 2: Select the System tab from the left sidebar and click the “Clipboard” option from the right pane.

Step 3: To enable clipboard history, toggle on the “Clipboard History” option.

2. Enable Clipboard History using Keyboard Shortcut
Step 1: Press the “Windows Logo key + V” key combination on the keyboard to open the clipboard.
Step 2: Click the “Turn on” button to enable the clipboard.

3. Enable Clipboard History using Registry Editor
NOTE: You’ve to use this method only if you’re not viewing the clipboard tab after pressing the “Windows logo key + V” key combination on the keyboard.
Step 1: In the Start menu, search for Registry Editor and hit the enter key.
Step 2: Navigate to the following path:
HKEY_CURRENT_USER\Software\Microsoft\Clipboard, right-click, add new DWORD (32-bit) value named as EnableClipboardHistory.

Step 3: To enable clipboard history, double-click the newly created DWORD value and set its value data from 0 to 1.

Step 4: Restart the computer to make changes take effect.

Note: To disable the clipboard history, set the value data to 2.
4. Enable Clipboard History using Local Group Policy
NOTE: You’ve to use this method only if you’re not viewing the clipboard tab after pressing the “Windows logo key + V” key combination on the keyboard.
Step 1: In the Start menu, search for Edit Group Policy and hit the enter key.
Step 2: Navigate to the following path:
Computer Configuration > Administrative Templates > System > OS Policies and double-click the Allow Clipboard History option.

Step 3: To enable clipboard history, check the “Enabled” option and click the “Apply” button.

Step 4: To save the changes without restarting the computer, open the Command Prompt from the Start menu and type the command: gpupdate/force.

Note: To disable clipboard history, check the “Disabled” option and click the “Apply” button.
How To View Clipboard History in Windows 11
Step: Press the “Windows logo key + V” to access the clipboard history in Windows. You may paste and save commonly used stuff from your clipboard history by clicking an individual item from the clipboard menu.

NOTE: If the Clipboard History tab is not appearing, then, either follow Method 3 or Method 4 above.

How To Sync Clipboard History in Windows 11
Step 1: Open the Windows Settings from the Start menu or press the “Windows Logo key + I” key combination on the keyboard.
Step 2: Select the “System” tab from the left sidebar and click the “Clipboard” option from the right pane.
Step 3: Click the “Get Started” button in the Share across devices section.
Step 4: Sign in and verify using your Microsoft Account.
Step 5: Toggle on the “Sync across your devices” button and select any one of the following options:
- Automatically sync text that I copy: Enabling this option will automatically sync the text that you copy.
- Manually sync text that I copy: If this option is enabled, you’ve to manually select the copied text and sync it from the clipboard. To sync the copied text in the clipboard manually, press the “Windows Logo key + V” key combination on the keyboard, click the three dots, and click the “Sync” icon.

How To Clear Clipboard History in Windows 11
1. Clear Clipboard History using Keyboard Shortcut
Step 1: Press the “Windows Logo key + V” key combination to open Clipboard History.
Step 2: Click the three-dots menu and click the “Clear” button icon.

2. Clear Clipboard History using Windows Settings
Step 1: Open the Windows Settings from the Start menu or press the “Windows Logo key + I” key combination on the keyboard.
Step 2: Select the System tab from the left sidebar and click the “Clipboard” option from the right pane.
Step 3: Click the “Clear” button in the “Clear Clipboard Data” section.

Note: To clear the items from the clipboard manually, open the clipboard by pressing the “Windows Logo key + V” key combination, click the three-dot menu and click the “Delete” icon.
Limitations of Clipboard History
Limitation 1: When the automatic clipboard history sync is turned on, the emails, passwords, and sensitive Information can also be synced to another device.
Limitation 2: Items including text, images, and HTML exceeding more than 4 MB in size are not stored in the clipboard.
Limitation 3: The clipboard cannot store more than 25 entries/items. If there are more objects stored, the first ones are automatically deleted.
Suggested Article: Microsoft Privacy Statement Regarding Data Safety while using Clipboard.
Next Steps
We’ve covered how to enable, disable, view, sync, and clear clipboard in Windows 11.
You might end up syncing emails, passwords, and other sensitive information if you’re automatically syncing the text. So, it’s highly suggested to sync the text manually.
Further, customize your device’s settings by referring to the related articles below.
Related Articles

Uninstall Sticky Notes in Windows 11
Don’t use the sticky notes app in Windows often? Learn how to uninstall it and prevent it from running in the background consuming some RAM and save some storage.

Limit Bandwidth in Windows 11
Learn How to limit bandwidth and reduce excessive internet data consumption due to excessive bandwidth usage in the background.
Disable Background Apps in Windows 11
Disable the apps running in the background and save some RAM and unnecessary internet usage in Windows.
